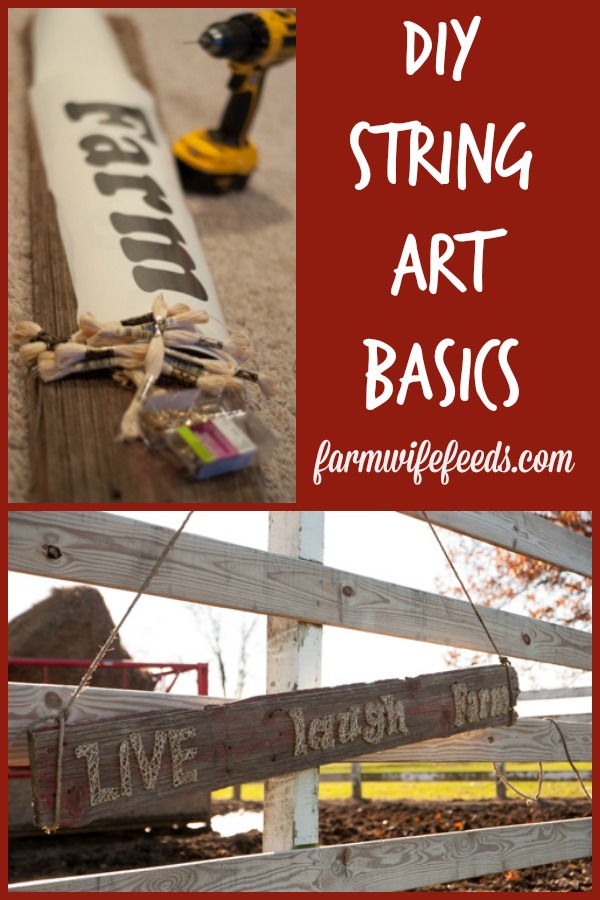
DIY String Art
As an Amazon Associate and member of other affiliate programs, we earn from qualifying purchases.
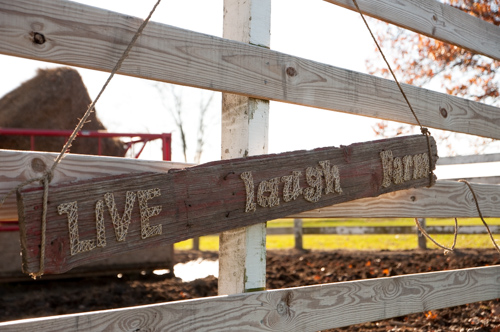
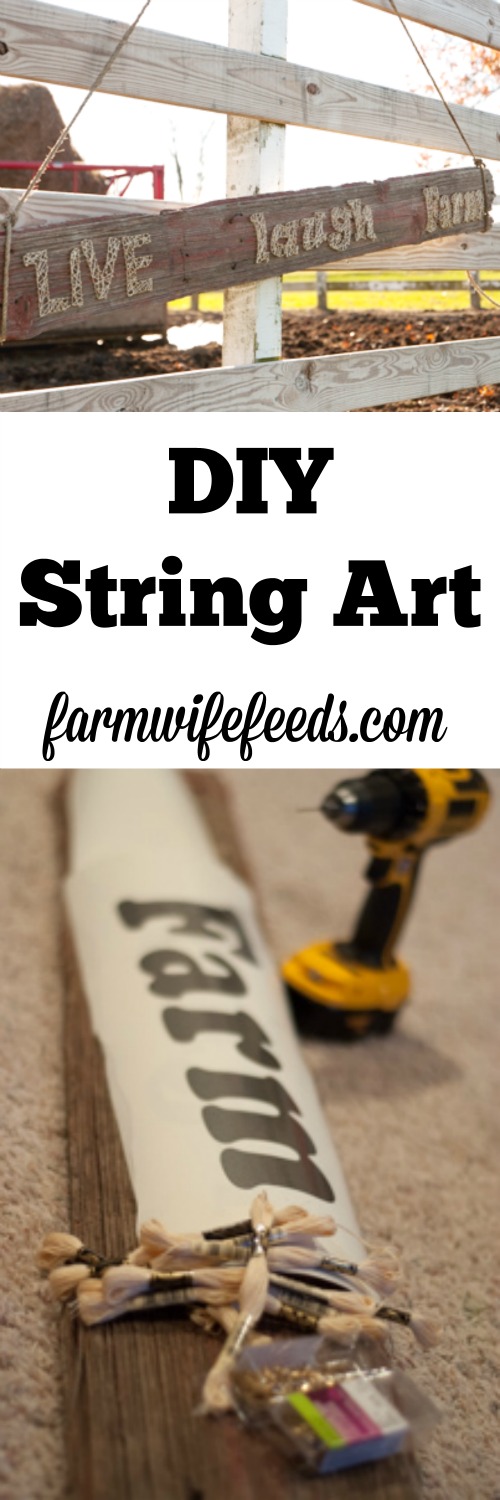
I did it myself and I couldn’t be more excited about the way my DIY String Art turned out!
![]()
LIVE LAUGH FARM
One of my favorite sayings, it’s how we survive. I have it on everything that will let me. A t-shirt, on the back of my truck and now hanging on a wall in my house.
It takes just a few supplies but mostly time and patience. Not gonna lie, the patience part was the hardest for me! But if I can do it, you totally can do it!
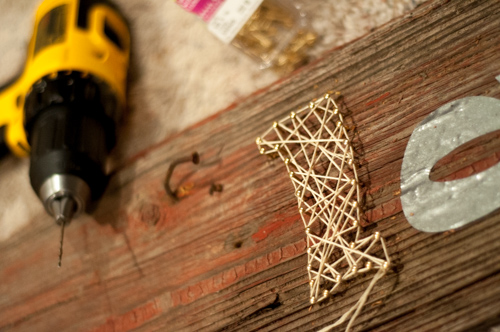
I chose my font and size on the computer, I cut mine out of vinyl. You could totally printed it on paper and cut the letters out and then tape then to the board. They only have to stay put for a bit. You pre-drill the holes then they can be taken off the board. I think you could also trace them onto contact paper and they might stay in place better if you don’t have access to a vinyl cutter.
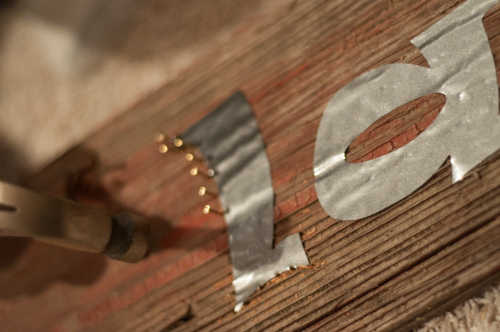
I pre-drilled my holes using a 1/16th drill bit, you don’t want deep holes just a quick little pilot hole to hold the nails in place. This step saved my fingers from the hammer, trying to hold those little nails wasn’t easy!
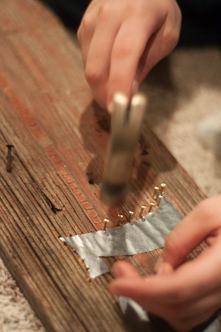
I then used 5/8″x16 gauge linoleum nails and hammer giving each nail a tap to make sure it was tight in the wood.
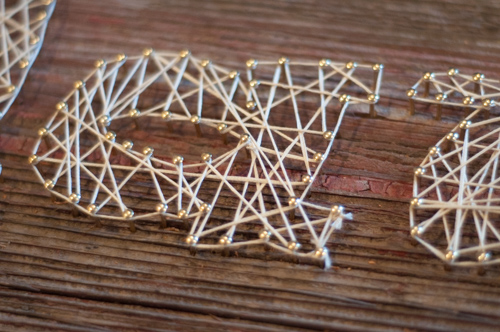
Once all the nails were in I used the embroidery thread to outline each letter and randomly fill in the letter. I opted to be random instead of a pattern for my sanity, it was quicker and took less thought. I started by tying a slip knot in the thread and anchoring that on a nail. The I just started stringing the thread from nail to nail.
When you run out of thread tie a quick knot anchoring it to a nail. Then start the next string again with a slip knot. Now just keep stringing that thread till your letters are filled in to your satisfaction!
DIY String Art
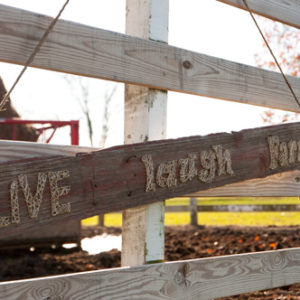
And my DIY String Art turned out exactly like I had pictured!!

I’ve been admiring string art for some time but wasn’t exactly sure what form I wanted or what I wanted it to say or picture. Then it hit me, I wanted my motto, I wanted it on old barn wood and I wanted to accomplish it myself. So I dove in head first and figured it out along the way and what I found was it was fun and pretty simple!
This is the perfect craft project to make for your own home or give as a present. Make it say anything you want or make it a shape, life my friend Sarah did with her reindeer on Farmwife Feeds!
![]()
DIY String Art
Ingredients
- Board of choice I have used this great board from Amazon for small string art that is lightweight and east to hang on the wall also
- Pattern printed or cut out
- Drill & drill bit optional
- Hammer
- Linoleum nails
- Embroidery Floss/Thread
Instructions
- Prepare board
- Apply pattern in desired position
- Drill shallow pilot holes for nails (optional)
- Hammer in nails to secure in wood, still leaving enough above surface to wrap string around
- Out line shape with embroidery floss/thread and fill in with desired string pattern
Nutrition values are estimates, for exact values consult a nutritionist.
![]()

Hey, I’m Jent!
Farmwife Feeds is my little space to share farm life and home-cooked recipes, from my soul to yours. These are the recipes I cook that my family eats. And while you’re here, stay awhile and see some of the farm. I share what’s real, muddy boots and all, so what you see is what you get. Read more…