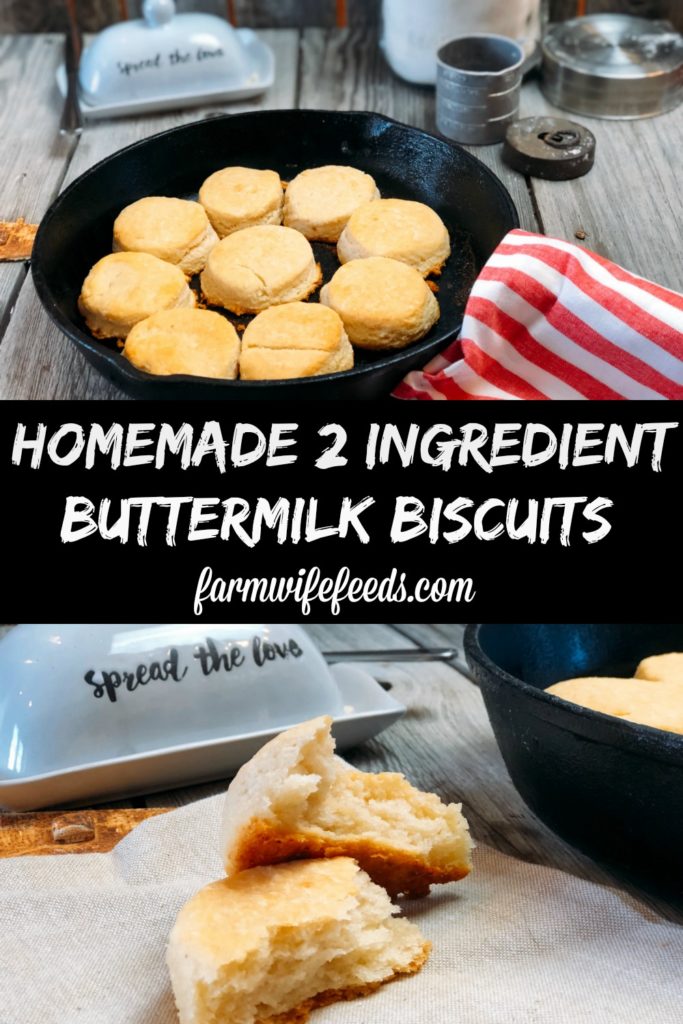
Homemade 2 Ingredient Buttermilk Biscuits
As an Amazon Associate and member of other affiliate programs, we earn from qualifying purchases.
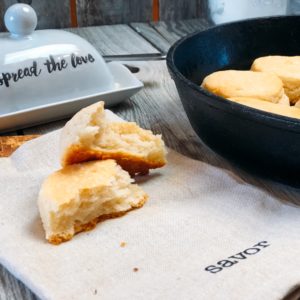
Few things bring comfort quite like a warm, flaky biscuit straight out of the oven. Especially when there are only 2 ingredients, like my Homemade 2 Ingredient Buttermilk biscuits.
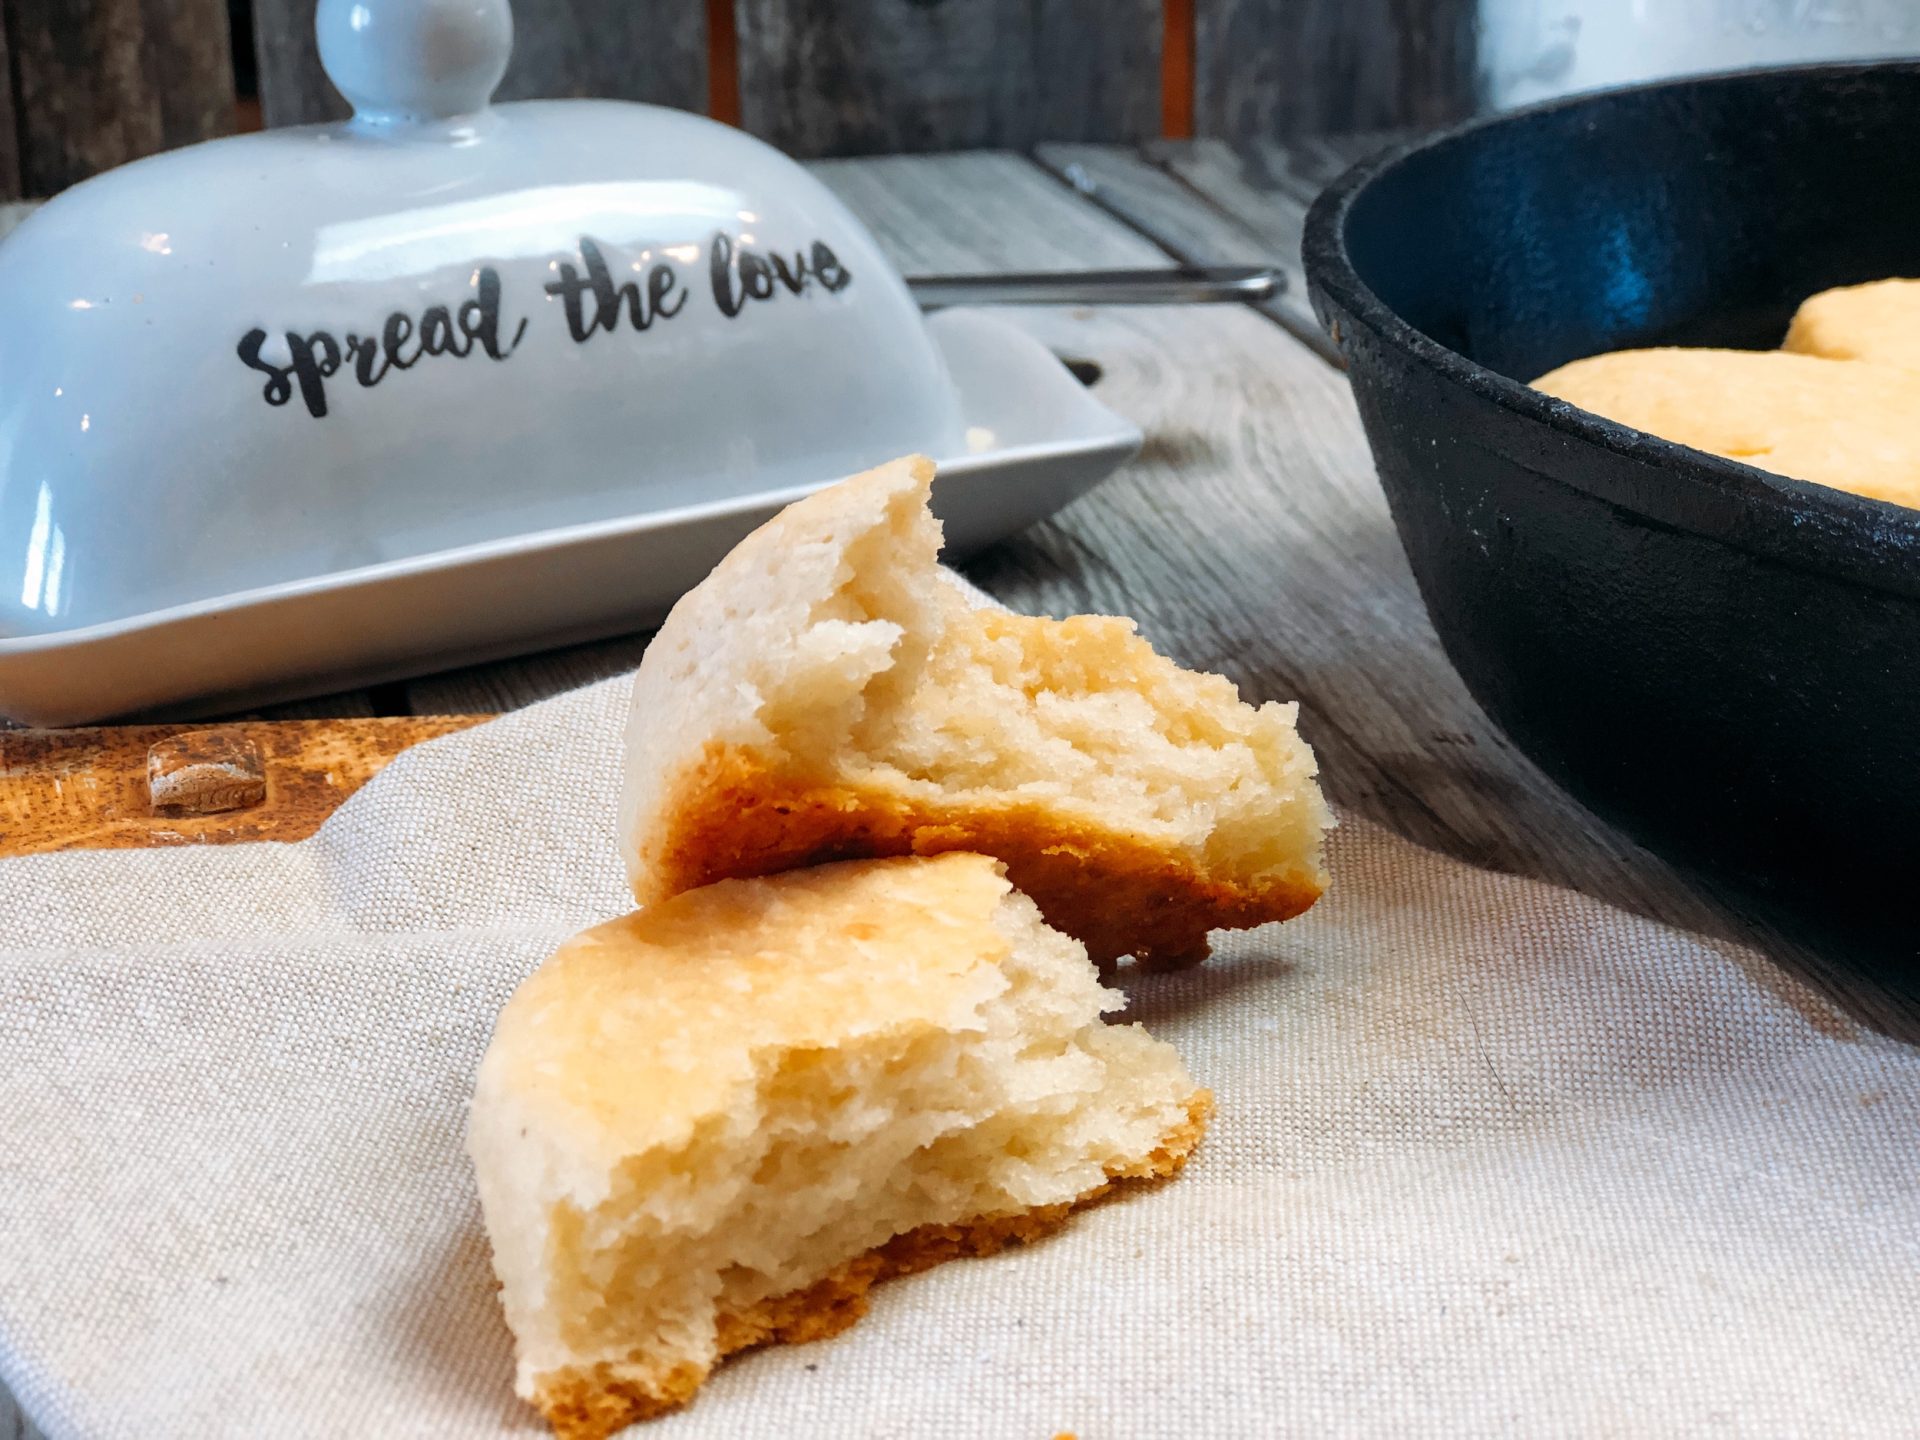
With just self-rising flour and buttermilk, you can whip up a batch of these biscuits in no time. Whether your’re pairing them with gravy, spreading on some jam, or enjoying them plain, these biscuits will quickly become your to-to recipe.
Homemade 2 Ingredient Buttermilk Biscuits
When your recipe has only 2 ingredients quality and type are key and can make a big difference.
Self-Rising Flour
Self-rising flour is a pre-mixed blend of all-purpose flour, baking powder, and salt. It’s designed to save you time and ensure your baked goods rise properly. While it’s perfect for biscuits, pancakes, and quick breads, it’s important to note the differences between types of flour:
- All-Purpose Flour: Lacks the baking powder and salt found in self-rising flour. If you only have all-purpose, you can make your own self-rising version by adding 11/2 teaspoons of baking powder and 1/2 teaspoon of salt per cup of flour.
- Cake Flour: Has a lower protein content, making it softer and less ideal for biscuits, which need a bit of structure.
- Bread Flour: Higher protein content makes this flour best suited for yeast breads and not for tender biscuits.
Buttermilk
Buttermilk is the not-so-secret ingredient that takes these biscuits to the next level. It’s tangy flavor and acidic properties make it an ideal choice for baking.
- Tender Texture: The acidity in buttermilk reacts with the baking powder in self-rising flour, creating carbon dioxide bubbles that help the biscuits rise and stay fluffy.
- Flavor Boost: Buttermilk adds a subtle tang that enhances the flavor of the biscuits, giving them a richer taste compared to regular milk.
- Moisutre: The slightly thicker consistency of buttermilk helps bind the dough together while keeping it moist.
If you don’t have buttermilk on hand, you can make a stustiture by mixing 1 tablespoon of white vinegar or lemon juice with 1 cup of milk and letting it sit for 5 minutes. While this substitute doesn’t replicate the thickness of traditional buttermilk, it can be used in this recipe. However, keep in mind that the biscuits might not be as tender or flavorful as they would be with real buttermilk.
Let’s Make Biscuits
Prepare Your Dough:
- In a large mixing bowl, add 3 cups of self-rising flour. The bowl should be big enough to allow room for hand mixing.
- Create a well in the center of the flour and pour in 11/2 cups of buttermilk.
- Start mixing with a spoon or your hands. Combine the ingredients until the dough becomes shaggy and slightly sticky.
Knead and Shape
- Lightly flour your work surface and transfer the dough from the bowl.
- Knead the dough gently for a minute or two. You want it to be smoother and less sticky bit still soft. Overworking the dough can make the biscuits tough.
- Flatten the dough to a thickness of 1 to 11/4 inches using your hands or a rolling pin.
- Use a biscuit cutter or the rim of a glass to cut out biscuits. A biscuit cutter will give you uniform shapes, but a glass works perfectly in a pinch. Gather and re-roll the scrps until all the dough is used.
Bake the Biscuits
- Preheat your oven to 425 degrees.
For Cast Iron Skillet Biscuits:
– Place 1 tablespoon of butter in a cast iron skillet and heat it in the oven for about 5 minutes until the butter is melted and the skillet is hot.
-Carefully arrange the biscuits in the skillet and bake for 14-16 minutes, or until the tops are golden brown.
For Cookie Sheet Biscuits:
-Spray a cookie sheet with non-stick cooking spray or line it with parchment paper.
-Place the biscuits on the sheet, leaving a bit of space between them, and bake for 14-16 minutes until golden.
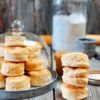
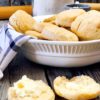
Enjoy
Serve the biscuits warm with butter, honey, or your favorite jam. They’re also perfect for soups, stews, or a hearty breakfast plate.
Tips and FAQ’s
Making biscuits is as much an art as it is a science. here are some helpful tips and answers to common questions to ensure your biscuits turn out perfectly every time.
Tips for Success
- Keep Your Ingredients Cold: Cold buttermilk and flour help create a flakier texture. you can even chill your mixing bowl for extra insurance.
- Don’t Overwork the Dough: Over-kneading can activate the gluten in the flour, resulting in tough biscuits. Aim for just enough mixing to bring the dough together.
- Use a Hot Oven: The high temperature helps the biscuits rise quickly, giving them their signature flaky layers.
- Don’t Twist the Cutter: When cutting out biscuits, press straight down and lift up. Twisting can seal the edges, preventing the biscuits from rising properly.
- Brush with Butter: For an extra golden and flavorful top, brush the biscuits with melted butter before baking.
Common Questions
Q: Can I use regular milk instead of buttermilk?
A: You can, but the biscuits won’t have the same tangy flavor or tender texture. If you don’t have buttermilk, make a substitute by adding 1 tablespoon of lemon juice or vinegar to 1 cup of milk. Let it sit for 5 minutes before using. This works in a pinch but will change the profile of the biscuits slightly.
Q: Can I make these biscuits ahead of time?
A: Yes! you can cut out the biscuits, place them on a baking sheet, and freeze them. Once frozen, transfer them to a resealable bag. When ready to bake, place the frozen biscuits on a baking sheet and bake at 425 degrees, adding a couple of extra minutes to the baking time.
Q: Can I add extra ingredients like cheese or herbs?
A: For sure! Stir in shredded cheese, chopped herbs or cooked bacon into the dough before shaping for a fun twist.
Q: Why did my biscuits turn out flat?
A: This could be due to several reasons: using old self-rising flour with inactive leavening, not preheating the oven fully, or overworking the dough. Fresh ingredients and gentle handling are key.
Q: How do I store leftover biscuits?
A: Store them in an airtight container at room temperature fro up to 2 days. For longer storage, freeze the biscuits and reheat in the oven when needed.
Other Biscuit and Bread Recipes:
Simplicity often leads to the best results. With just self-rising flour and buttermilk, you can create tender, flaky biscuits that taste like they’ve been made from scratch by a seasoned baker.
This is the perfect biscuit recipe for my Sausage Gravy or my Creamed Chip Beef Gravy!
Homemade 2 Ingredient Buttermilk Biscuits
Ingredients
- 3 cups self rising flour
- 1½ cups buttermilk
Instructions
Prepare the Dough:
- Start by adding the self-rising four to a large mixing bowl. Make sure the bowl is big enough to allow room for mixing by hand.
- Create a well in the center of the flour and pour in the buttermilk.
- Begin mixing with a spoon or go straight in with your hands. Combine until the dough becomes shaggy and slightly sticky.
Knead the Dough:
- Lightly flour your work surface and transfer the dough from the bowl.
- Knead the dough gently, folding and pressing until it becomes smoother and less sticky.
Shape the Biscuits:
- Flatten the dough to a thickness of 1 to 1¼ inches using your hands or a rolling pin.
- Use a biscuit cutter or the rim of a glass to cut out biscuits. Gather the scraps, re-roll, and cut until all the dough is used.
Preheat the Oven:
- Preheat your oven to 425°
Baking Options:
Cast Iron Skillet Method
- Place 1 tablespoon of butter in a cast iron skillet and put the skillet in the preheated oven for about 5 minutes to melt the butter and heat the skillet.
- Carefully arrange the biscuits in the hot skillet and bake for 14-16 mintues, or until golden brown.
Cookie Sheet Method
- Spray a cookie sheet with non-stick cooking spray or line it with parchment paper.
- Place the biscuits on the prepared sheet, leaving a bit of space between them, and bake for 14-16 minutes or until the tops are golden brown.
Serve:
- Enjoy the biscuits warm, straight out of the oven. Serve them with butter, honey, or your favorite jam or jelly.
Nutrition
Nutrition values are estimates, for exact values consult a nutritionist.

Hey, I’m Jent!
Farmwife Feeds is my little space to share farm life and home-cooked recipes, from my soul to yours. These are the recipes I cook that my family eats. And while you’re here, stay awhile and see some of the farm. I share what’s real, muddy boots and all, so what you see is what you get. Read more…


Thx these are awesome!
Great recipe … just like the Southern biscuits my sister-in-law made!
My second attempt at making biscuits, and my first time making buttermilk ones. As mentioned, it’s now a go-to recipe! It’s simple and quick to make. I really appreciated the tips and tricks! I was out of self-rising flour, so the suggestion on how much baking powder and salt to use was helpful. Fluffy, moist and would pair very well with some butter / homemade jam. Thanks!
Sooo very easy. Delicious!